6 Smartphone Video Mistakes to Avoid for Professional Results in 2025
April 26, 2025 | by faisalfitness01@gmail.com
Shooting professional-looking videos with your smartphone is easier than ever, but small mistakes can make your footage look amateurish. If you’ve ever felt that your phone’s camera isn’t good enough or your videos lack that polished look, you’re not alone. The truth is, it’s often not about the phone—it’s about how you use it. In this detailed guide, we’ll uncover six common mistakes people make when shooting videos with their smartphones and share practical tips to elevate your video quality. Whether you’re a vlogger, content creator, or just capturing moments, these insights will help you create stunning videos that stand out in 2025.
Table of Contents
1. Poor Lighting Choices
Lighting is the backbone of great video quality, yet it’s one of the most overlooked aspects of smartphone videography. Many beginners shoot with improper lighting, resulting in videos that look flat or overly bright in the wrong places.
- The Mistake: Shooting with backlighting, where the light source (like the sun) is behind you, can make your background too bright and your face too dark. This creates harsh shadows and an unbalanced look.
- The Fix: Opt for front lighting, where the light source is in front of you, illuminating your face evenly. For outdoor shoots, position yourself so the sunlight hits you at a slight angle (around 45 degrees) to create soft shadows and add depth. Avoid midday sun, as it casts harsh shadows. Instead, shoot in shaded areas under trees or buildings for a flat, even light that looks professional.
- Pro Tip: If you’re filming indoors, use soft, diffused lighting like a ring light or place a lamp with a white sheet in front to mimic natural light.
Why It Matters: Good lighting enhances clarity and makes your videos visually appealing, ensuring your audience stays engaged.
2. Neglecting Audio Quality
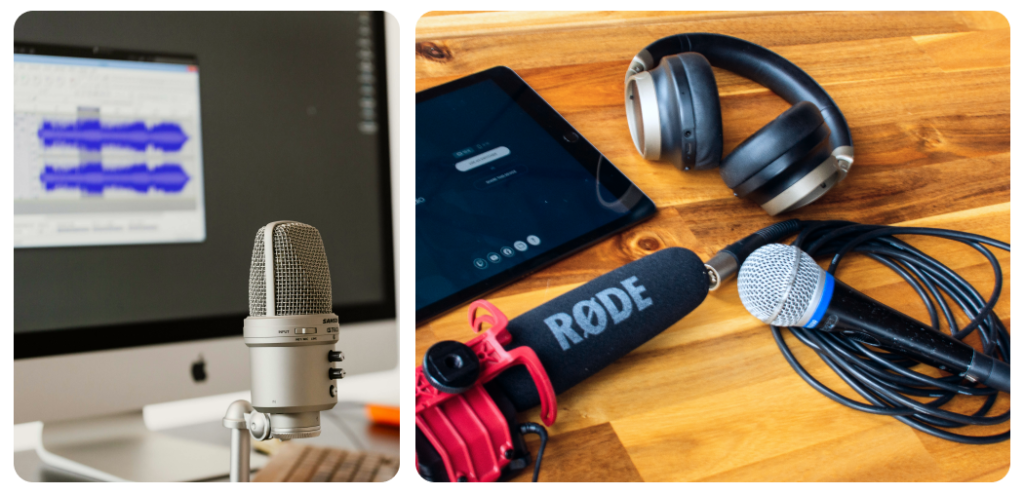
Great visuals are only half the battle—poor audio can ruin an otherwise perfect video. Many smartphone videographers rely solely on their phone’s built-in microphone, which often picks up background noise or sounds muffled from a distance.
- The Mistake: Recording audio too far from the phone’s microphone, leading to low volume and increased background noise. This is especially common when you step away from the camera while speaking.
- The Fix: Stay close to your phone’s microphone (within 1-2 feet) to capture clear audio with minimal noise. For better results, invest in an external microphone, such as a wireless lavalier mic, which allows you to record high-quality audio even from a distance. These mics are compact, affordable, and perfect for vlogging or interviews.
- Pro Tip: Test your audio levels before recording and choose a quiet location to minimize ambient noise.
Why It Matters: Clear audio is just as critical as visuals for keeping viewers immersed and ensuring your message comes across.
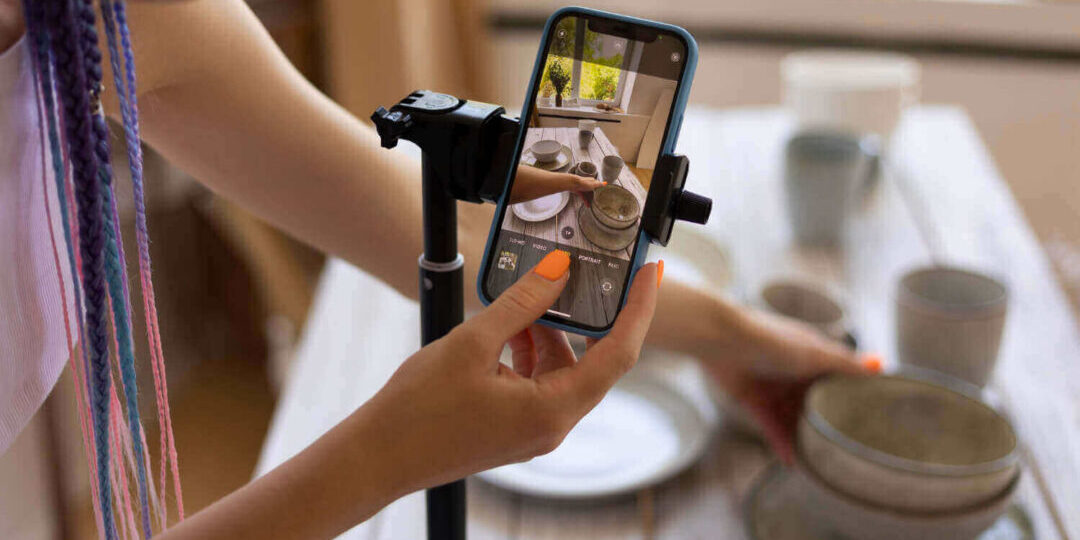
3. Using the Front Camera Instead of the Rear Camera
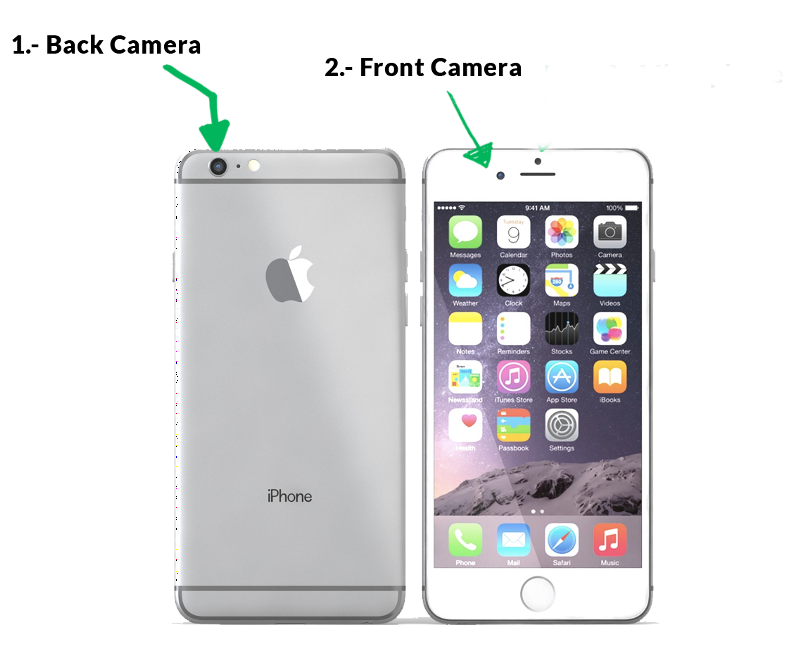
The front-facing camera is tempting for vloggers because it lets you see yourself while recording, but it often compromises video quality.
- The Mistake: Relying on the front camera, which typically has lower resolution, weaker dynamic range, and poorer stabilization compared to the rear camera.
- The Fix: Use the rear camera for higher resolution (often 4K vs. 1080p on the front), better color accuracy, and improved stabilization. While you can’t see the screen, practice framing your shot to get comfortable with the setup. Over time, you’ll develop an instinct for positioning.
- Pro Tip: Use a small mirror or a phone stand with a preview screen to monitor your framing when using the rear camera.
Why It Matters: The rear camera delivers professional-grade quality, making your videos sharper and more vibrant, especially for platforms that support 4K uploads.
4. Overusing Digital Stabilization on a Tripod
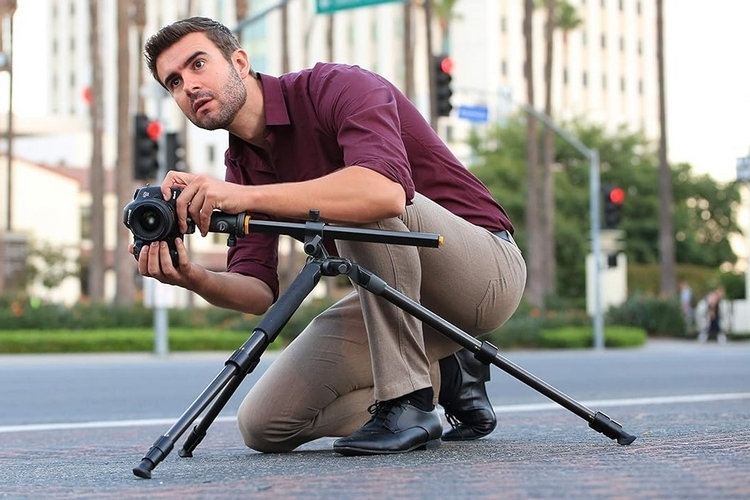
Most modern smartphones offer digital stabilization to smooth out shaky footage, but leaving it on in every scenario can backfire.
- The Mistake: Keeping stabilization enabled when shooting on a tripod, which crops the frame and reduces the field of view unnecessarily. Stabilization is designed for handheld shooting, not stationary setups.
- The Fix: Turn off digital stabilization when using a tripod to capture the full frame and maximize resolution. This prevents unnecessary cropping and ensures you get the widest possible shot.
- Pro Tip: If you’re shooting handheld, keep stabilization on, but consider using a gimbal for even smoother footage.
Why It Matters: Avoiding unnecessary stabilization preserves your video’s resolution and framing, giving you more flexibility in post-production.
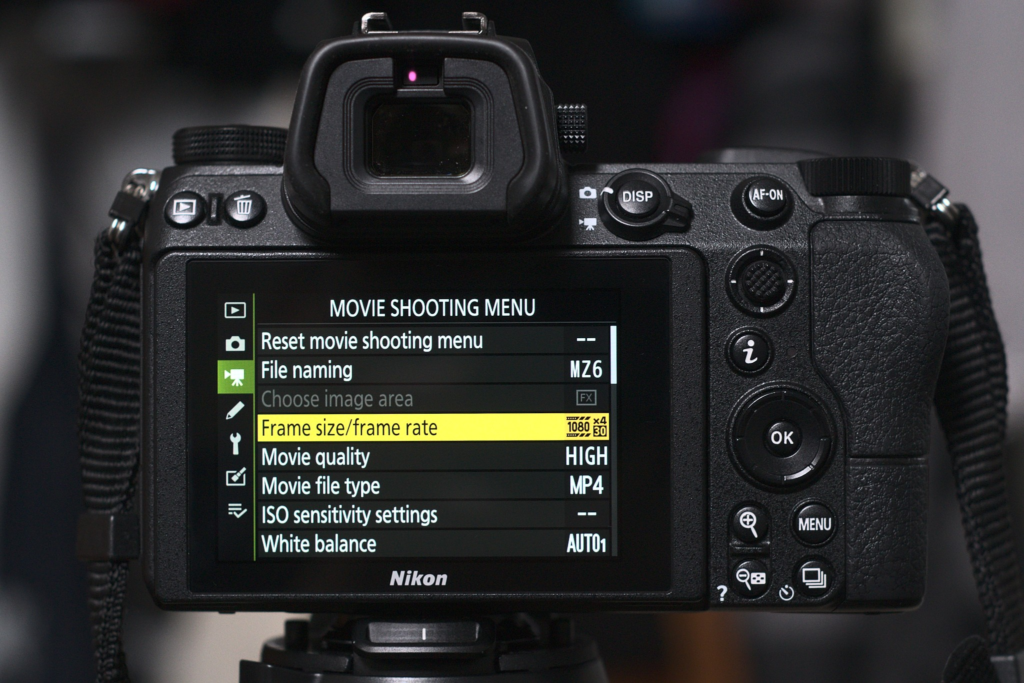
5. Recording in Low Resolution

Many creators record in 1080p because they plan to upload in 1080p, but this limits your editing options and reduces overall quality.
- The Mistake: Recording in 1080p instead of 4K, which restricts your ability to zoom, crop, or pan without losing clarity.
- The Fix: Always shoot in 4K if your phone supports it, even if you plan to upload in 1080p. The higher resolution gives you room to zoom in, crop, or add dynamic movements (like panning) in editing without sacrificing quality. This creates a more engaging, cinematic look.
- Pro Tip: Ensure you have enough storage space, as 4K files are larger. Use cloud storage or an external drive to manage files.
Why It Matters: Shooting in 4K future-proofs your content and allows for creative editing, keeping your audience captivated.
6. Bonus Tip: Short Clips and Low Frame Rates
Capturing short clips or using standard frame rates can limit your ability to create dynamic, cinematic videos.
- The Mistake: Recording clips that are too short (2-3 seconds) or shooting at 30 fps, which doesn’t allow for smooth slow-motion effects.
- The Fix: Aim for at least 10-second clips to give yourself more footage to work with in editing. This allows you to create smooth transitions, slow-motion effects, or cinematic sequences. If your phone supports it, shoot at 60 fps (especially in 1080p if 4K at 60 fps isn’t available) to enable slow-motion editing without losing smoothness.
- Pro Tip: Plan your shots in advance and record multiple takes to capture varied angles or moments, increasing your editing flexibility.
Why It Matters: Longer clips and higher frame rates give you creative control, making your videos more engaging and professional.
Conclusion
Creating professional-looking videos with your smartphone doesn’t require expensive gear—just a few smart techniques. By avoiding these six common mistakes—poor lighting, neglecting audio, using the front camera, overusing stabilization, recording in low resolution, and shooting short clips—you can significantly improve your video quality. Whether you’re vlogging for YouTube, creating reels for Instagram, or capturing memories, these tips will help your content shine in 2025.
What’s Next? Try these techniques in your next video and share your results in the comments below! Have a favorite tip or another mistake to avoid? Let us know.
RELATED POSTS
View all

How to Set Up Home Automation on a Budget: An Expanded Guide for 2025
April 22, 2025 | by faisalfitness01@gmail.com

Top 10 Wi-Fi Hacks to Boost Your Internet Speed in India 2025
April 26, 2025 | by faisalfitness01@gmail.com

How to Troubleshoot 5G Connection Issues: A Guide for 2025
April 22, 2025 | by faisalfitness01@gmail.com